
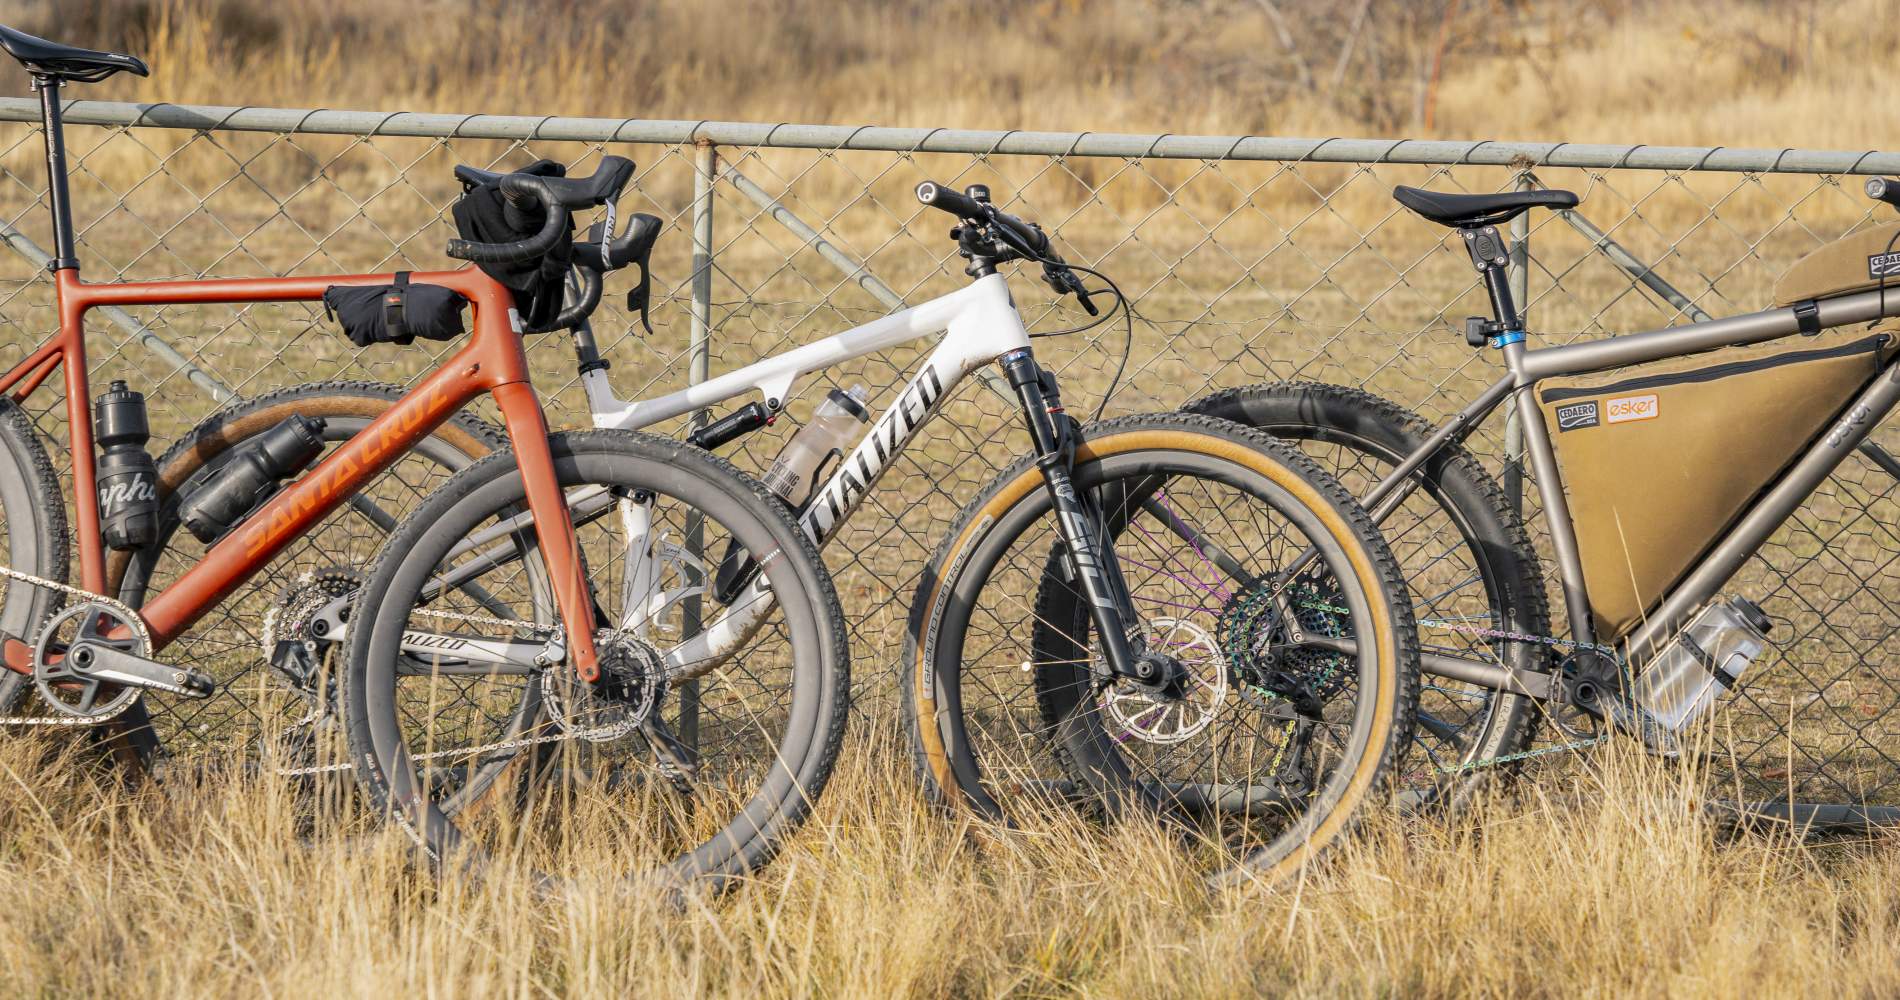


Get ready to ride the Otago trails this spring with these 11 essential checks
Longer days and warmer weather signal the beginning of another great season of cycling in Otago. But before heading out onto the trail, take a little time to make sure your bike is safe and ready.
This spring bike maintenance checklist covers the essential checks for conventional bicycles and E-Bikes. Many can be completed at home, but a qualified bike mechanic should investigate anything that appears damaged, loose or unreliable.
So, what commonly happens to a bike over winter?
A bicycle that has been stored over winter will commonly have soft tyres, a dry or rusty chain, sluggish gear shifting, stiff cables or brakes that require attention.
Moisture can cause corrosion, old lubricant can become sticky or dry, and tyres naturally lose pressure while the bike is not being ridden. E-Bike batteries are likely to have lost charge during storage.
Some of these problems may not be obvious until the bike is ridden. A thorough inspection followed by a short test ride is the best way to identify them before having a mechanical failure out on the trail.
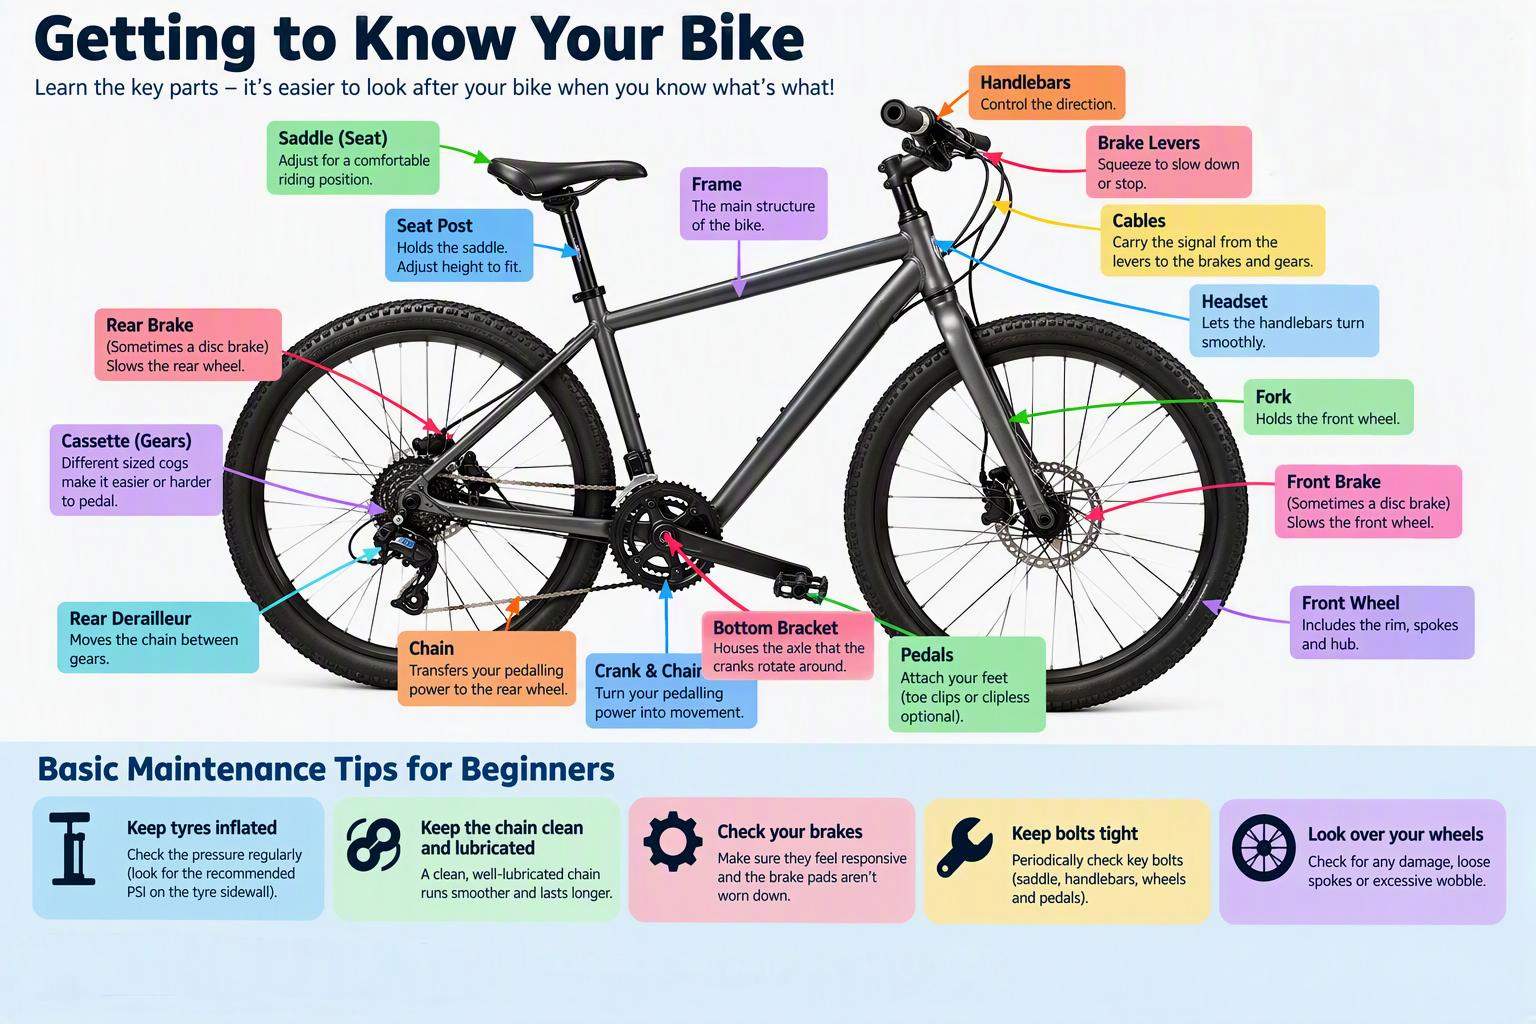
Get to know the different parts of your bike, and how to identify any potential issues.
1. How should you clean a bike after winter?
Start by cleaning your bicycle with warm water, a soft brush or cloth, and a bicycle-friendly cleaner. A clean bike makes it easier to find corrosion, wear, leaks and loose components.
Avoid directing high-pressure water at the wheel hubs, suspension, bottom bracket or other areas containing bearings. High-pressure water can force moisture and dirt into components that are designed to remain sealed.
Once the bike is clean, dry it thoroughly and look for:
- Rust or corrosion
- Cracks, dents or frame damage
- Loose bolts or fittings
- Frayed cables
- Oil or fluid around the brakes or suspension
- Damaged racks, bags, mudguards or bottle cages
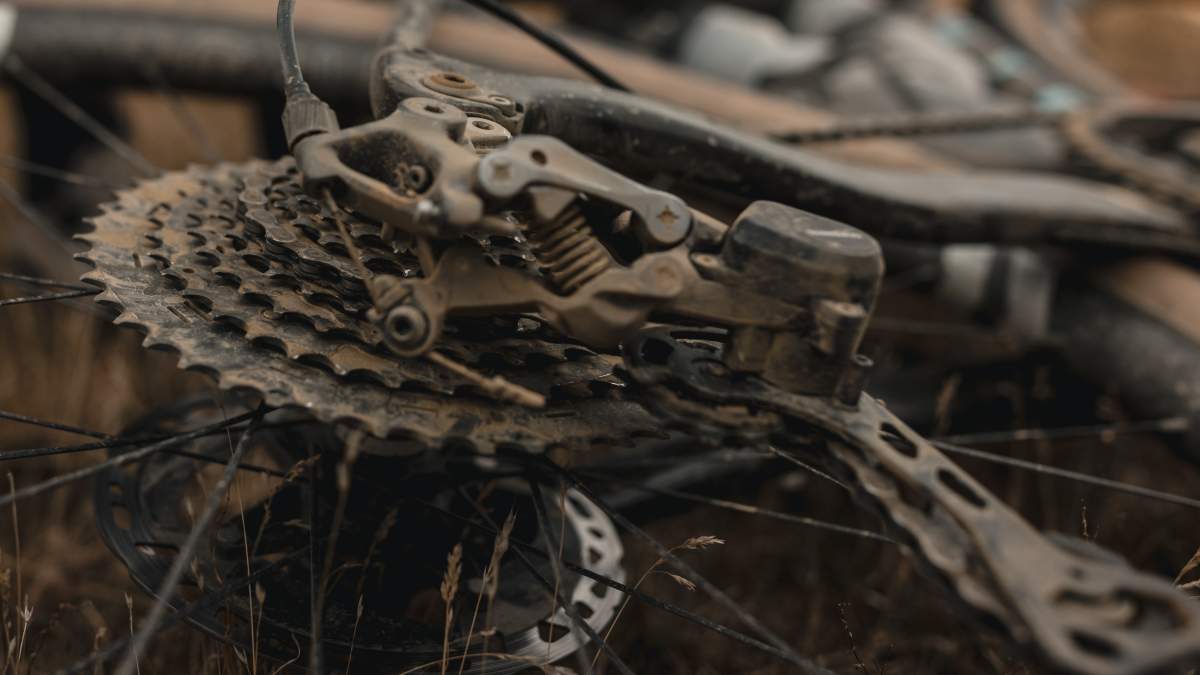
When cleaning your bike, pay attention to the drivechain (chain, cassette, crank and derailleur jockey / pulley wheels)
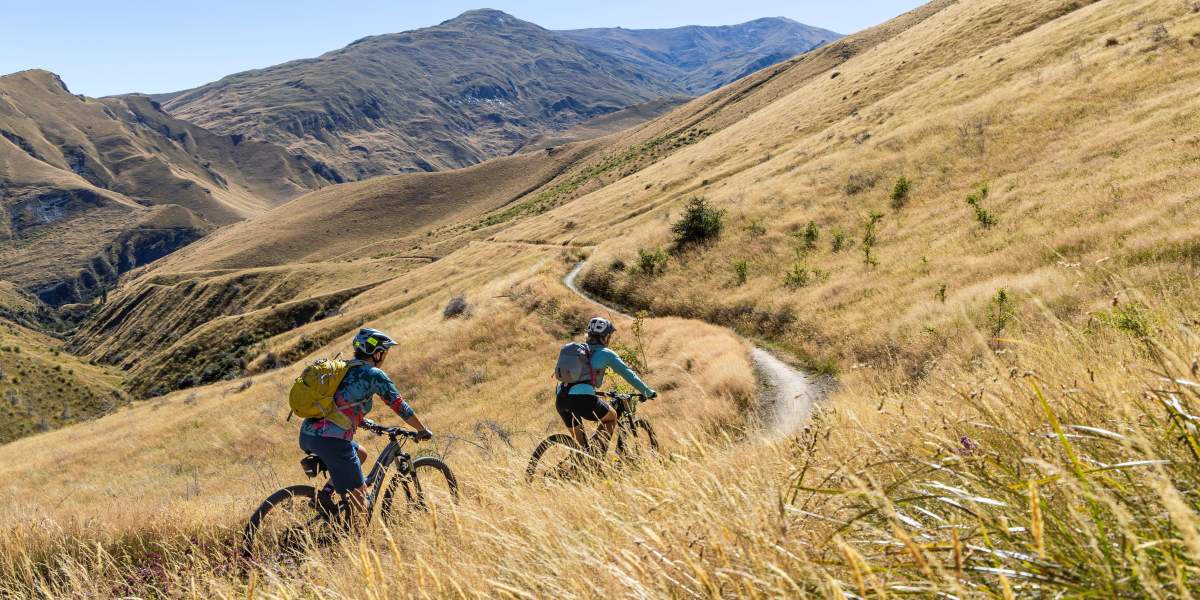
Regular maintenance is especially important if you intend to ride any remote or backcountry trails.
2. How do you check bicycle tyres after winter?
Check each tyre’s pressure, condition and tread before riding. Tyres gradually lose air during storage and can be too soft even when they do not appear flat.
Find the recommended pressure range on the tyre sidewall and inflate the tyre appropriately. You don’t necessarily need to pump the tyre up to the highest pressure shown. Suitable pressure depends on the tyre, bike, riding surface and total weight of the bicycle, rider and any bags or panniers. If you're riding with tubeless tyres, the pressure may be lower than if riding with inner tubes.
Inspect each tyre for:
- Cracks or perished rubber
- Cuts in the tread or sidewall
- Embedded glass, stones or other debris
- Bald or badly worn sections
- Bulges or sections that do not sit evenly on the rim
Lift the bike and spin each wheel. It should rotate freely without a significant sideways wobble. Check for loose or broken spokes at the same time.
If the bike has tubeless tyres, the sealant may have dried out or congealed during storage. Follow the tyre or sealant manufacturer’s instructions or ask a bike shop to check and replenish it.
3. How do you check that bicycle brakes are working?
Wheel the bike forward and test the front and rear brakes separately. Each brake should stop its wheel positively and release cleanly when you let go of the lever.
Check that:
- The brake levers do not pull all the way to the handlebars
- Both brakes provide firm and predictable stopping force
- The brakes release without continuing to rub
- Brake pads have sufficient material remaining
- Pads contact the braking surface correctly
- Rotors or wheel rims are clean
- Cables and hydraulic hoses are undamaged
- No hydraulic fluid is leaking
A spongy brake lever or a lever that pulls back to the handlebar can indicate air, contamination or fluid loss in a hydraulic braking system. Metal-on-metal grinding can indicate that disc brake pads are badly worn. These problems should be repaired before the bike is ridden.
Keep chain lubricant, cleaners and protective sprays away from brake pads, rotors and wheel-rim braking surfaces. If the brakes remain weak, noisy or inconsistent, arrange a professional inspection.
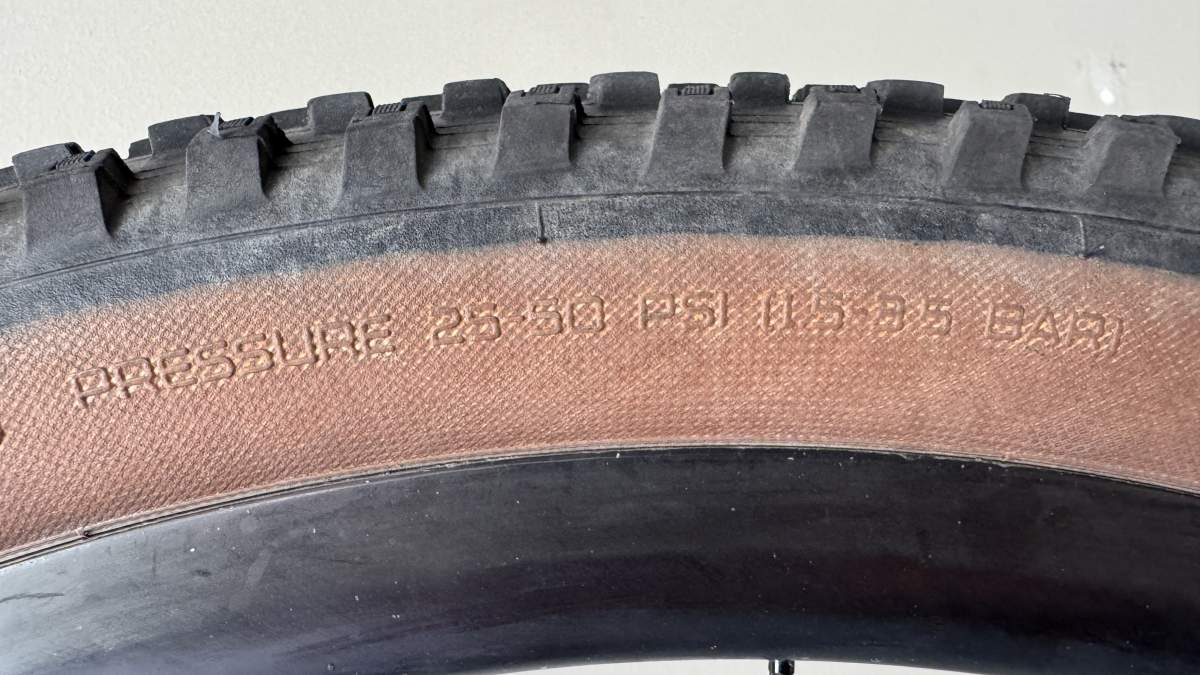
The correct pressure can be found on your tyre wall.
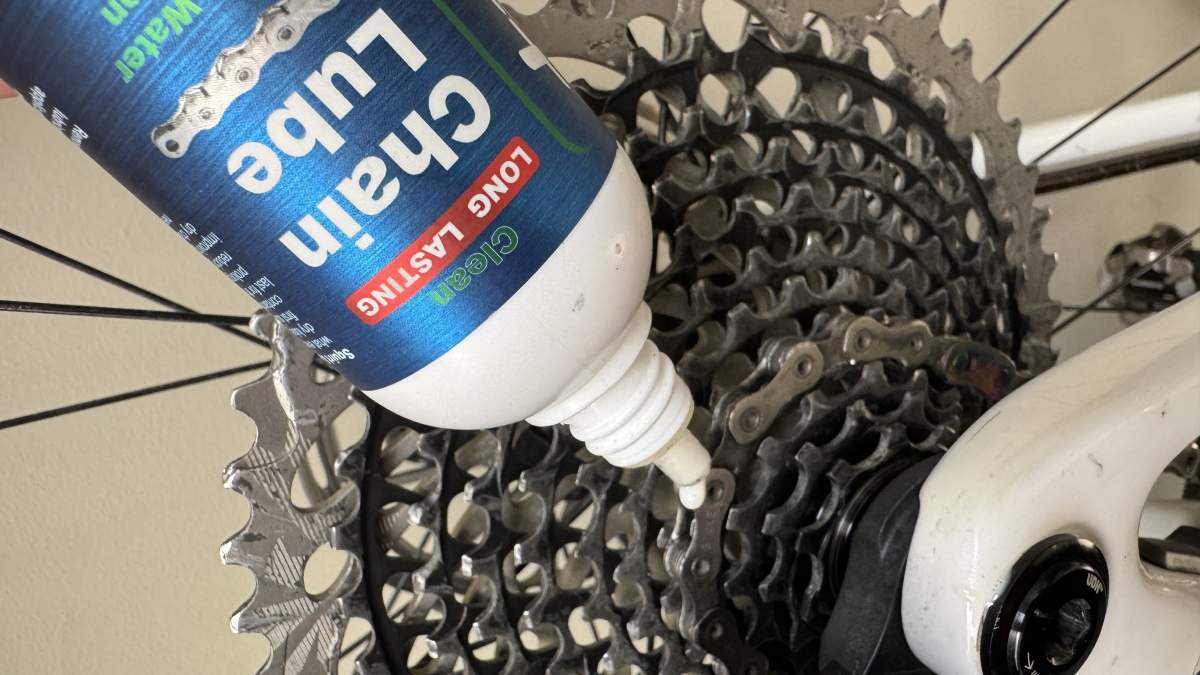
Once you have cleaned and dried your chain, apply a good lubricant (as per manufacturer's instructions)
4. How do you clean and lubricate a bike chain?
Examine the chain for rust, stiff links, squeaking and accumulated grime. Clean it before applying fresh bicycle chain lubricant.
Turn the pedals backwards and watch the chain as it passes through the drivetrain. A healthy chain should move freely and consistently.
To prepare the chain:
- Wipe away loose dirt and old lubricant (pay attention to the derailleur pulley / jockey wheels and chain ring as waxy lubricant can build up here).
- Use a bike drivetrain cleaner if necessary.
- Allow the chain to dry.
- Apply a small amount of chain lubricant to each link (as per the lube manufacturer’s instructions)
- Rotate the pedals to distribute the lubricant.
- Wipe away the excess with a clean cloth.
Applying too much lubricant attracts dust and trail grit. This can create a grinding paste that accelerates wear on the chain, cassette and chainrings.
Ask a mechanic to inspect a chain that is deeply rusted, noticeably worn or still has stiff links after cleaning. Chains do need to be replaced periodically, and a new chain can help prolong the life of the rest of your componentry.
5. How do you check a bicycle’s gears?
Turn the pedals and shift through the bike’s complete range of gears. The chain should move cleanly into each selected gear without hesitation, excessive noise or skipping.
Look and listen for:
- Delayed gear changes
- Persistent clicking
- A chain that skips under pressure
- Difficulty reaching the easiest or hardest gears
- A gear lever that feels unusually stiff
- A bent or misaligned derailleur
Gear cables can settle or corrode during storage. A derailleur can also be knocked out of alignment when bikes are transported or stacked together.
A chain that skips while you are pedalling can cause a sudden loss of balance. Have the gears adjusted before taking the bike onto hills or longer trail sections.
6. Which bicycle components should be checked for looseness?
Check the wheels, handlebars, stem, saddle, seatpost, pedals and cranks. Also inspect any accessories that could move, detach or interfere with a wheel.
Pay particular attention to:
- Front and rear wheel axles, including quick-release levers or through-axles
- Handlebars and stem
- Saddle and seatpost
- Pedals and cranks
- Bottle cages
- Racks and panniers
- Lights, reflectors and bell
Stand in front of the bike and hold the front wheel between your legs. Gently try to turn the handlebars. The wheel and handlebars should move together without slipping or feeling loose.
You can also lift the bicycle a few centimetres and let it land gently on its tyres. Listen for unexplained knocks or rattles and investigate anything that appears loose.
Do not overtighten bolts. Many bicycle components have specified torque settings, and carbon-fibre parts can be damaged by excessive force. Ask a mechanic if you are uncertain.
7. How do you check the steering and wheel bearings?
Apply the front brake and gently rock the bicycle backwards and forwards. Knocking or movement around the handlebars and front of the frame may indicate a loose headset.
Lift each wheel and spin it. Look and listen for:
- Sideways movement
- Grinding or roughness
- A wheel that stops unexpectedly
- Movement between the wheel and its axle
The pedals and cranks should rotate smoothly without grinding, stiffness or sideways movement.
Loose, rough or noisy bearings generally require specialist tools and are best assessed by a bicycle mechanic.
8. How do you check that a bicycle still fits properly?
Confirm that the saddle, seatpost, handlebars and controls remain securely positioned. These components may have shifted while the bike was stored, moved or transported.
Check that:
- The saddle is secure and approximately level
- The seatpost is below its minimum-insertion mark
- The handlebars are straight
- Brake levers and gear controls are easy to reach
- The grips are secure and in good condition
As an approximate guide to seat height, when the pedal is at the bottom of its rotation, the rider’s leg should be close to straight without the hips rocking from side to side.
A bike shop can provide a basic fit assessment if you experience persistent discomfort in your hands, knees, back, neck or saddle area.
9. What riding equipment should be checked before spring?
Inspect your helmet, lights, pump, spare tube, repair kit and multitool. Make sure everything is working and appropriate for your bicycle.
Check your helmet for:
- Cracks or dents
- Frayed or twisted straps and damaged buckles
- An unreliable adjustment mechanism
- Read more about correct helmet fit here.
Make sure your spare tube matches your wheel and tyre size. Check that repair adhesives have not dried out, the pump works and the multitool has the fittings required for your bike.
Charge your lights or replace their batteries. Even when you do not plan to ride after dark, lights can improve visibility during dull spring weather.
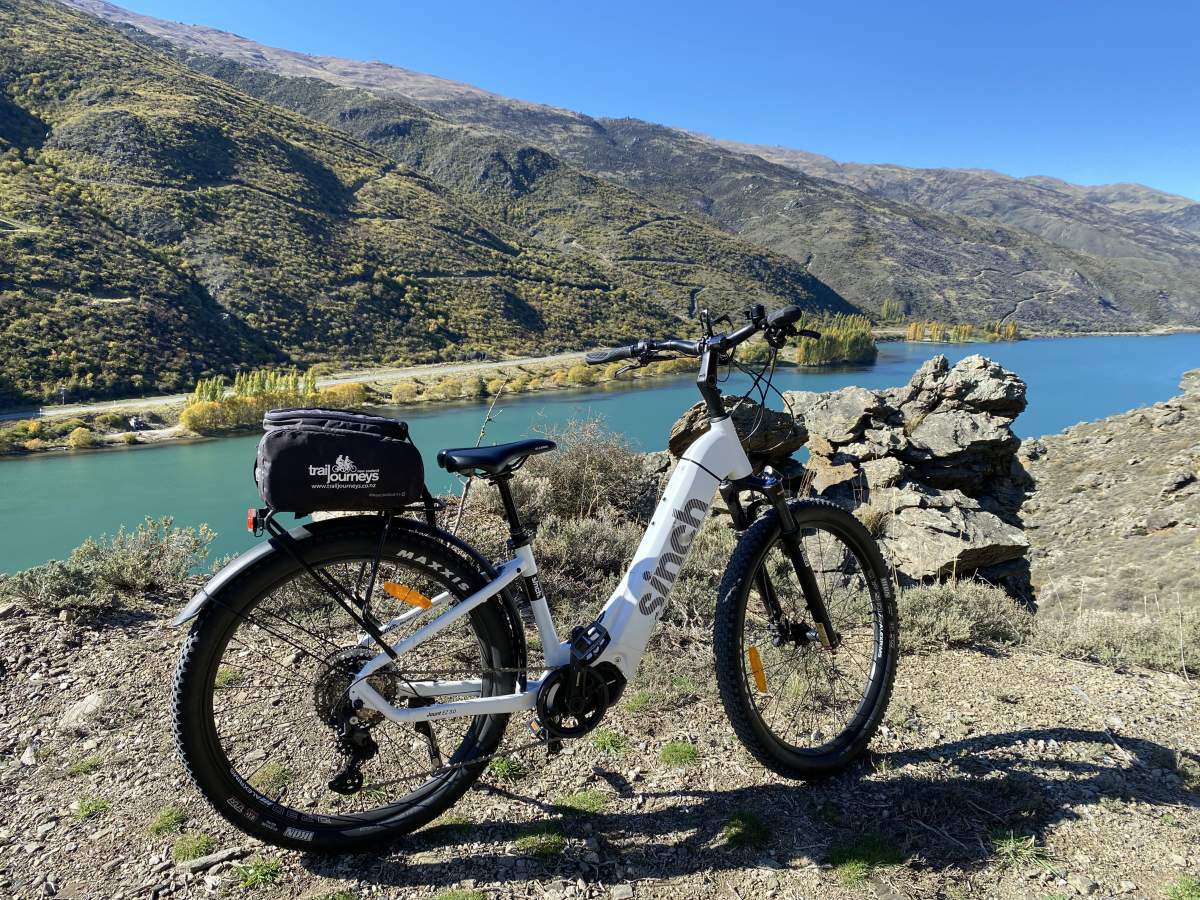
E-Bike maintenance and safety checks are similar to conventional bikes...
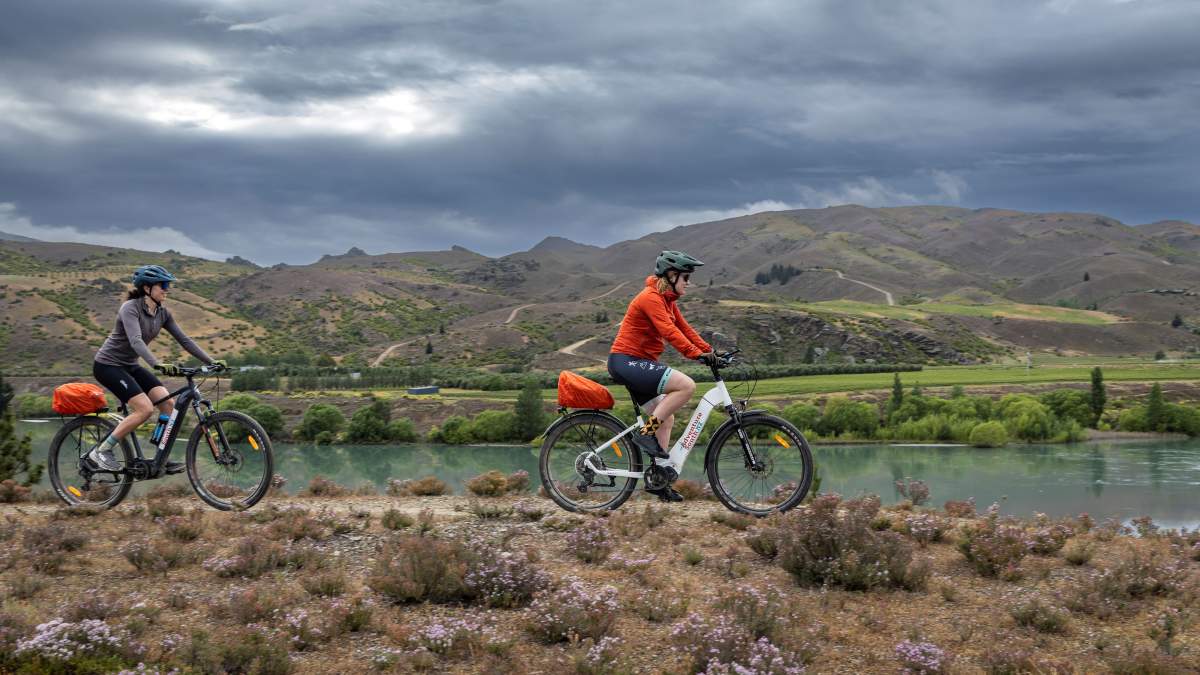
...but the motor, battery and electrical components are best serviced by a professional.
10. What extra checks does an E-Bike need?
An E-Bike requires all the same mechanical checks as a conventional bicycle, plus an inspection of its battery, charger, motor and controls.
Before charging the battery:
- Inspect its casing for cracks, swelling or impact damage
- Check its contacts for moisture, dirt or corrosion
- Examine the charger, plug and cable for damage
- Confirm that the battery fits and locks securely
- Use an approved, compatible charger
- Follow the manufacturer’s storage and charging instructions
Once the battery is charged, turn on the E-Bike and check:
- The display and controls
- Each assistance mode
- The battery-level indicator
- Integrated lights
- Motor assistance
- Warning lights or error messages
A battery may perform differently after prolonged storage, especially if it was left with very little charge or exposed to unsuitable temperatures. Treat the first outing as a short-range test rather than planning around the bike’s maximum stated range.
Do not use or charge a battery that is swollen, cracked, leaking, unusually hot or producing an unfamiliar odour. Do not open or attempt to repair an E-Bike battery. Contact the bike or battery manufacturer, retailer or an authorised E-Bike technician.
11. Why should you take a test ride?
A short test ride helps identify problems that may not appear during a stationary inspection. Make the first ride close to home rather than setting off immediately on a full trail journey.
During the test ride:
- Shift through every gear
- Test both brakes at low speed
- Listen for clicking, scraping or grinding
- Check that the bike tracks in a straight line
- Confirm that the handlebars and saddle remain secure
- Test the E-Bike motor and assistance modes
- Stop after a few minutes and inspect the bike again
It is better to discover a slipping gear, rubbing brake or loose rack near home than halfway through a day out on one of Otago's cycle trails.
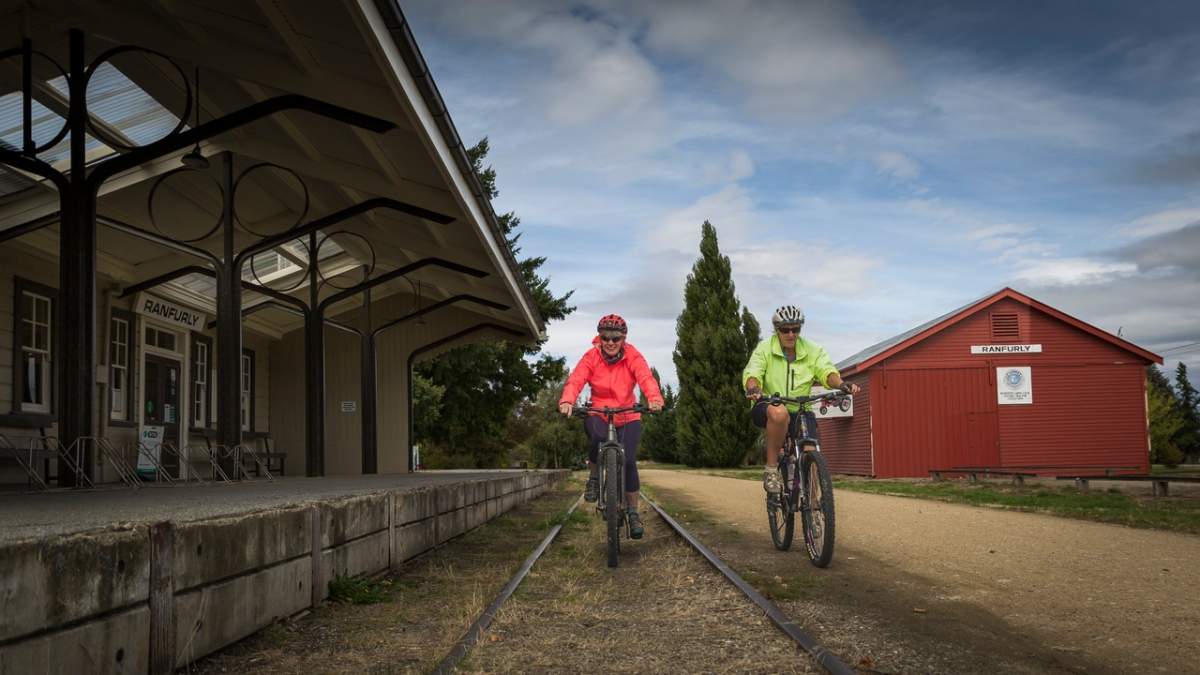
Regular, prevenative maintenance shoudl keep you riding hassle free also season...
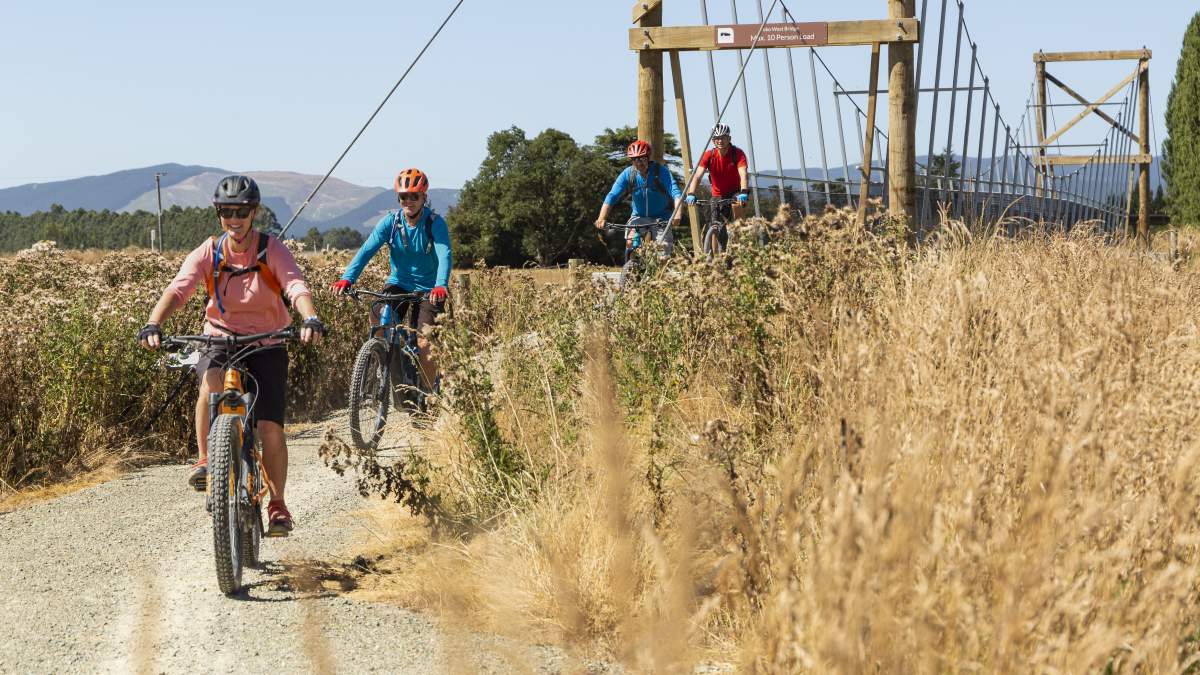
The 5-minute ABC pre-ride bicycle safety check
Once your bike has completed its full spring inspection, use this quick check before every ride.
Air (A)
- Are both tyres correctly inflated?
- Are there any cuts, cracks or bulges?
- Do both wheels spin freely?
Brakes (B)
- Do the front and rear brakes work separately?
- Do the levers feel firm?
- Do both brakes release correctly?
Chain and gears (C)
- Is the chain clean and lightly lubricated?
- Does it move without stiff or rusty links?
- Do the gears shift correctly?
Controls
- Are the handlebars secure?
- Is the saddle firmly attached?
- Are the brake and gear controls working?
Everything else
- Are both wheels securely attached?
- Is anything loose or rattling?
- Are your helmet, lights and repair kit ready?
- Is the e-bike battery locked in place?
When should a bike be professionally serviced?
Book a professional bicycle service if:
- The brakes are weak, spongy or inconsistent or if a brake lever pulls back to the handlebar
- The gears skip while pedalling
- A wheel wobbles or the spokes are loose or broken
- The headset or handlebars feel loose
- The chain is badly rusted or worn
- Bearings grind or have sideways movement
- Hydraulic fluid is leaking or suspension is losing air or oil
- An e-bike displays an error message
- The battery or charger is damaged
- You are uncertain whether the bike is safe
- You cannot remember when it was last serviced
A professional mechanic can identify wear or damage that may not be obvious during a home inspection.
Bike ready? Then time to get yourself into shape to explore Otago’s cycle trails and start planning your first spring ride.

Related Stories
-

Spring Cycling For Beginners
Haven’t ridden over winter? Follow this easy six-week training guide and build up to a multi-day spring ride on one of Otago’s cycle trails.
Read more about Spring Cycling For Beginners -
E-Biking the Otago Trails What You Need to Know
New to E-biking or planning your first multi-day cycle holiday? Here’s what you need to know before exploring Otago’s Great Rides.
Read more about E-Biking the Otago Trails What You Need to Know -
Clutha Gold Trail Beginners Guide
A beginners guide to the Clutha Gold Trail
Read more about Clutha Gold Trail Beginners Guide